Overview
A Studio Session is a collaborative environment in which multiple participants can place markups on the same drawing simultaneously or asynchronously. This page covers the general life cycle of a Studio Session and includes code examples. Visit our Example Workflows page to see a common application of the Sessions portion of the Studio API. To learn more about Studio and Studio Sessions, in general, visit our Studio page.
Studio Session Lifecycle
The DMS to Studio Sessions Roundtrip workflow example shows the entire lifecycle of a Studio Session: As the Session begins, typically Users are added, along with selected PDF files; once the Session exists, with those PDF files and Users, the Users can mark up the PDFs; after the users are finished marking up, the final step is to Finish the Session and return the files to their originating system.
1. Initialize Session
The first phase of a Studio Session’s lifecycle is its creation. To begin, make a POST command to the Sessions endpoint with the following parameters.
Endpoint
https://studioapi.bluebeam.com/publicapi/v1/sessions
Request Parameters
| Name | Description | Value Type / Possible Values |
|---|---|---|
| Name | Session Name | String |
| Notification | true: Current user will be subscribed to email notifications about changes to this Session. false: Current user will not be subscribed to email notifications about changes to this Session. |
Boolean |
| Restricted | true: to restrict the Session to only email addresses that have been invited or added. false: to leave the Session open to anyone who has the 9-digit Session ID. |
Boolean |
| SessionEndDate | Once this date is reached, all participants except for the host will be removed from the Session. | Must be formatted in UTC format |
| DefaultPermissions | This permission set will apply to all users added to this Session except for the host (the current user). The host gets full control. | Define Types of permissions, and permissions themselves, below |
| Permission | Description | Value Type / Possible Values |
|---|---|---|
| Type | Type of permission | SaveCopy – Allow attendees to Save As. PrintCopy – Allow attendees to Print PDFs included in the Session. Markup – Allow attendees to place markups. AddDocuments Allow attendees to add new documents to the Session. FullControl – give attendees admin rights to the Session. MarkupAlert – allow attendees to send and receive markup alerts during the Session. |
| Allow | Permission state | Allow, Deny, Default |
cURL Example
cURL https://studioapi.bluebeam.com/publicapi/v1/sessions \
-H "Authorization: Bearer {valid access_token}" \
-H "Content-Type: Application/JSON" \
-d '{
   "Name":"Pied Piper Acquisition Review",
   "Notification": true,
   "Restricted": true,
   "SessionEndDate": "2016-08-17T21:09:07.5174221Z",
   "DefaultPermissions":[
      {
         "Type":"SaveCopy",
         "Allow":"Allow"
      },
      {
         "Type":"PrintCopy",
         "Allow":"Allow"
      },
      {
         "Type":"Markup",
         "Allow":"Allow"
      },
      {
         "Type":"MarkupAlert",
         "Allow":"Allow"
      },
      {
         "Type":"AddDocuments",
         "Allow":"Deny"
      }
    ]
 }' \
-X POST
Response Body
{
   "$id": "1",
   "Id": "123-456-789"
}
2. Add Files
The next step is to add the PDF files. In the DMS to Sessions Roundtrip example workflow, the files have been selected by the user before initiating the Session. To add those selected files, you must create a metadata block placeholder for them, upload them to Amazon Web Services, and finally, confirm their upload.
a. Create Metadata Block
Endpoint
https://studioapi.bluebeam.com/publicapi/v1/sessions/{sessionId}/files
Parameters
| Name | Description | Value Type / Possible Values |
|---|---|---|
| Name | Name of file | String ending in “.pdf” |
| Source | Source path. this may help you identify where the file came from later on in the process | String |
| Size | File size; leave null for server to calculate | Integer |
| CRC | Leave null for server to calculate | String |
cURL Example
cURL https://studioapi.bluebeam.com/publicapi/v1/sessions/123-456-789/files \
-H "Authorization: Bearer {valid access_token}" \
-H "Content-Type: Application/JSON" \
-d '{
      "Name":"Pied_Piper_Acquisition.pdf",
      "Source":"https://portfolio.raviga.com/primarybets/piedpiper/legaldocs/Pied_Piper_Acquisition.pdf"
}' \
-X POST
Example Response
{
   "Id": 1234567
   "UploadUrl":"{upload file to this URL}"
   "UploadContentType":"Application/PDF"
}
b. Upload the file to AWS
Once you have a metadata block placeholder for your file, make a PUT request to the returned UploadURL from the previous POST request. In your PUT request, be sure to include the following in the header:
- x-amz-server-side-encryption” with value “AES256”
- “Content-Type” with value “application/pdf”
c. Confirm Upload
Endpoint
https://studioapi.bluebeam.com/publicapi/v1/sessions/{sessionId}/files/{id}/confirm-upload
cURL Example
cURL https://studioapi.bluebeam.com/publicapi/v1/sessions/123-456-789/files/1234567/confirm-upload \
-H "Authorization: Bearer {valid access_token}" \
-X POST
Response
If successful, you will get a 204 response. For errors, visit our Common Response Codes page.
3. Add Users
Once you have the Session created and the files uploaded, add the users to the Session. The initiator of the Session (the current user) will automatically become the Host of the Session, and therefore automatically added to the Session’s users. More users can always be added while the Session is active. There are two methods for adding users:
Method A. Invite User
Invite User is best to invite users who may not yet have a Studio account. An email will be sent to the invitee with an opportunity to create a free Studio Account and download Bluebeam’s free PDF viewer, Vu, which can place markups in Studio Sessions.
Endpoint
https://studioapi.bluebeam.com/publicapi/v1/sessions/{sessionId}/invite
Parameters
| Name | Description |
|---|---|
| Email address to send invitation to | |
| Message | Custom Message that will display in the email |
Example
cURL https://studioapi.bluebeam.com/publicapi/v1/sessions/123-456-789/invite \
-H "Authorization: Bearer {valid access_token}" \
-H "Content-Type: Application/JSON" \
-d '{
      "Email":"gavin.belson@hooli.com",
      "Message":"Please join this Session to review documents regarding the Pied Piper acquisition."
}' \
-X POST
Response
If successful, you will get a 204 response. For errors, visit our Common Response Codes page.
OR
Method B. Add User
Add user is best to use if you know that the email address is already associated with a Studio account and you want them to be added to a Studio Session without opting in. If the user does not have an account, or if you are unsure if they do, choose the invite user method above. Using the Add User method, the user will be added to the Studio Session’s attendees, and the Studio Session will appear under their Attended Sessions within the Studio Tab of the Revu interface.
Endpoint
https://studioapi.bluebeam.com/publicapi/v1/sessions/{sessionId}/users
Parameters
| Name | Description |
|---|---|
| Email address of known Studio account | |
| SendEmail | Boolean; True: send an email to the invitee, False: do not send an email notification to the invitee. |
| Message | Custom Message that will display in the email, if the email is sent |
Example
cURL https://studioapi.bluebeam.com/publicapi/v1/sessions/123-456-789/users
-H "Authorization: Bearer {valid access_token}" \
-H "Content-Type: Application/JSON" \
-d '{
      "Email": "peter.gregory@raviga.com",
      "SendEmail": true,
      "Message": "As requested, here is the Session to review the Pied Piper acquisition documents."
}' \
-X POST
Response
If successful, you will get a 204 response. For errors, visit our Common Response Codes page.
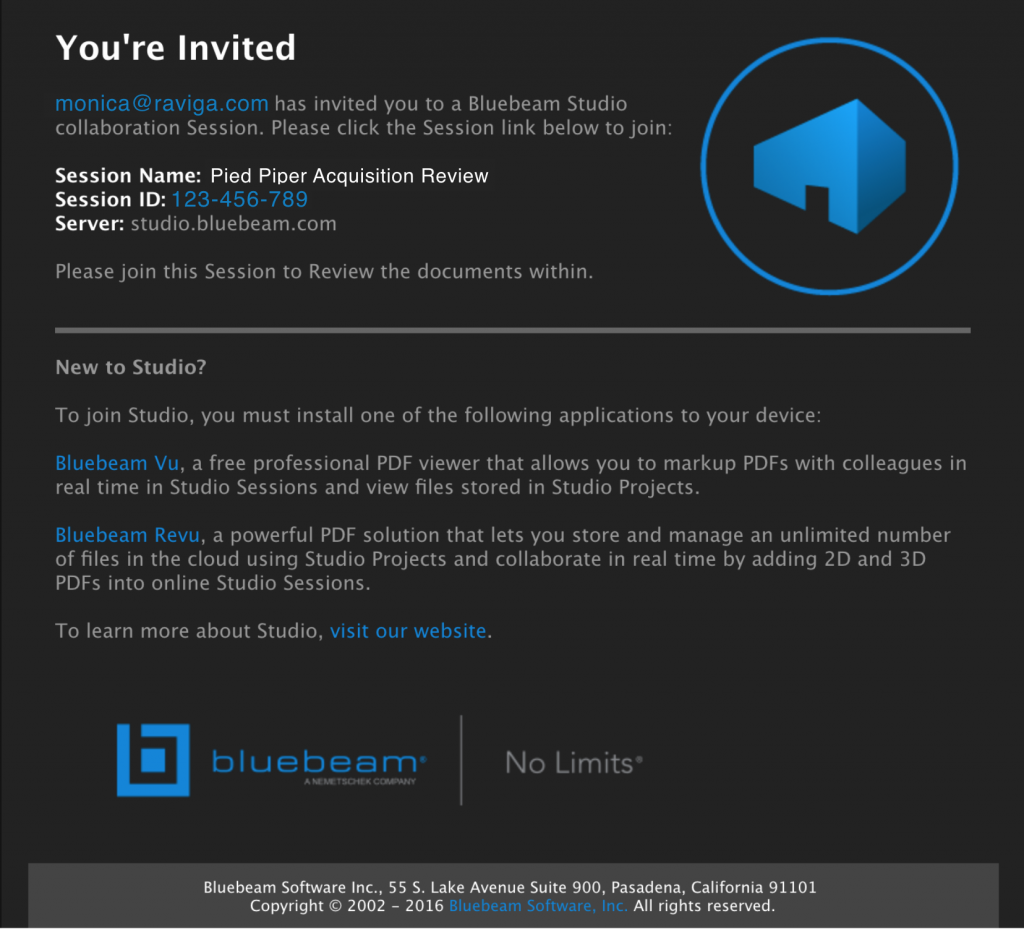
Sample Session Invite Email
4. Finalizing Session
To end a Session, (typically done after the attendees have finished marking up, or the Session expiration date has been reached), its Status must be changed, its files must be dealt with, and the Session itself must be properly disposed of.
a. Set Status to Finalizing
Setting a Session’s Status to Finalizing removes all users from the Session, except the Host. This is done to prevent further changes to the Session files after they are downloaded.
Endpoint
https://studioapi.bluebeam.com/publicapi/v1/sessions/{id}
Example
cURL https://studioapi.bluebeam.com/publicapi/v1/sessions/123-456-789 \
-H "Authorization: Bearer {valid access_token}" \
-H "Content-Type: Application/JSON" \
-d '{"Status": "Finalizing"}' \
-X PUT
b. Download the Marked Up Session Files
Downloading the marked up Session files is a 2-part process. You’ll need to follow the steps below for each file in the Session.
i. Create a Snapshot
While in a Session, PDFs and markups are stored separately. A Snapshot combines the PDF content with the markup layer into a single PDF so that the markups are viewable on the PDF outside of the Studio Session.
Endpoint
https://studioapi.bluebeam.com/publicapi/v1/sessions/{sessionId}/files/{id}/snapshot
Example
cURL https://studioapi.bluebeam.com/publicapi/v1/sessions/123-456-789/files/1234567/snapshot \
-H "Authorization: Bearer {valid access_token}" \
-X POST
ii. Check Status of Snapshot, Download if Complete
Make a GET request to the Snapshot endpoint until the Status is either Complete or Error.
- If Error: We will include an error message that can be presented to the user.
- If Complete: use the DownloadUrl to download the Snapshot.
Endpoint
https://studioapi.bluebeam.com/publicapi/v1/sessions/{sessionId}/files/{id}/snapshot
Example
cURL https://studioapi.bluebeam.com/publicapi/v1/sessions/123-456-789/files/1234567/
-H "Authorization: Bearer {valid access_token}" \
-X GET
Response Body
{
   "Status": "Complete",
   "StatusTime": "{The last time the Status was changed}",
   "LastSnapshotTime": "{Time of last successful Snapshot}",
   "DownloadUrl": "{A download URL for the last successful Snapshot}"
}
Status Options
| Status | Description |
|---|---|
| NoSnapshot | When a Snapshot has never been called on a file |
| Requested | The Snapshot job has not yet started, but we received the request |
| InProgress | The Snapshot job is in progress |
| Complete | The Snapshot job is finished and can be downloaded via DownloadUrl |
| Error | The Snapshot job failed. The status will include an error message |
c. Close out the Session
Now that you have the marked up PDF(s), you can dispose of the Session by sending a DELETE request to the Session ID endpoint.
Endpoint
https://studioapi.bluebeam.com/publicapi/v1/sessions/{id}
Example for Closing out Session
cURL https://studioapi.bluebeam.com/publicapi/v1/sessions/123-456-789 \
-H "Authorization: Bearer {valid access_token}" \
-H "Content-Type: Application/JSON" \
-X DELETE
Conclusion
Returning the file to its originating location and Archiving the Session completes the typical Studio Session lifecycle. Though there are many different ways to work with Studio Sessions, we hope this walkthrough has given you a good grasp of the basics.